
Aside from editing text, users in almost every industry require to edit images on PDF documents. For instance, graphic designers often need to edit images within PDFs including marketing collateral, brochures, or promotional materials. This includes tasks like inserting, cropping, and adjusting image transparency to create visually appealing designs. Thus, the image editor stands as an essential feature for editing PDFs.
Why Edit Images in PDFs on the WEB App?
Why do users require to edit images of PDFs online? Here are two common but key causes.
• Web applications eliminate the requirement of installing additional software, which not only saves time but also reduces potential compatibility issues.
• The browser-based PDF editor transcends platform limitations. Whether they are on a Windows PC, a macOS device, or even a tablet or smartphone—without encountering device constraints, users can seamlessly edit PDF images as long as they can access the browser.
With the increasing demands for enhanced functionality and a richer user experience, developers tend to integrate the image editing feature into their web applications and seek solutions that offer seamless and straightforward integration.
ComPDF Web SDK now adds support for image editing on Version 2.3.0. Developers can effortlessly embed the PDF image editor into Web apps, allowing users to add, delete, move, rotate, flip, replace, export, and crop images in PDF, as well as adjust image transparency.
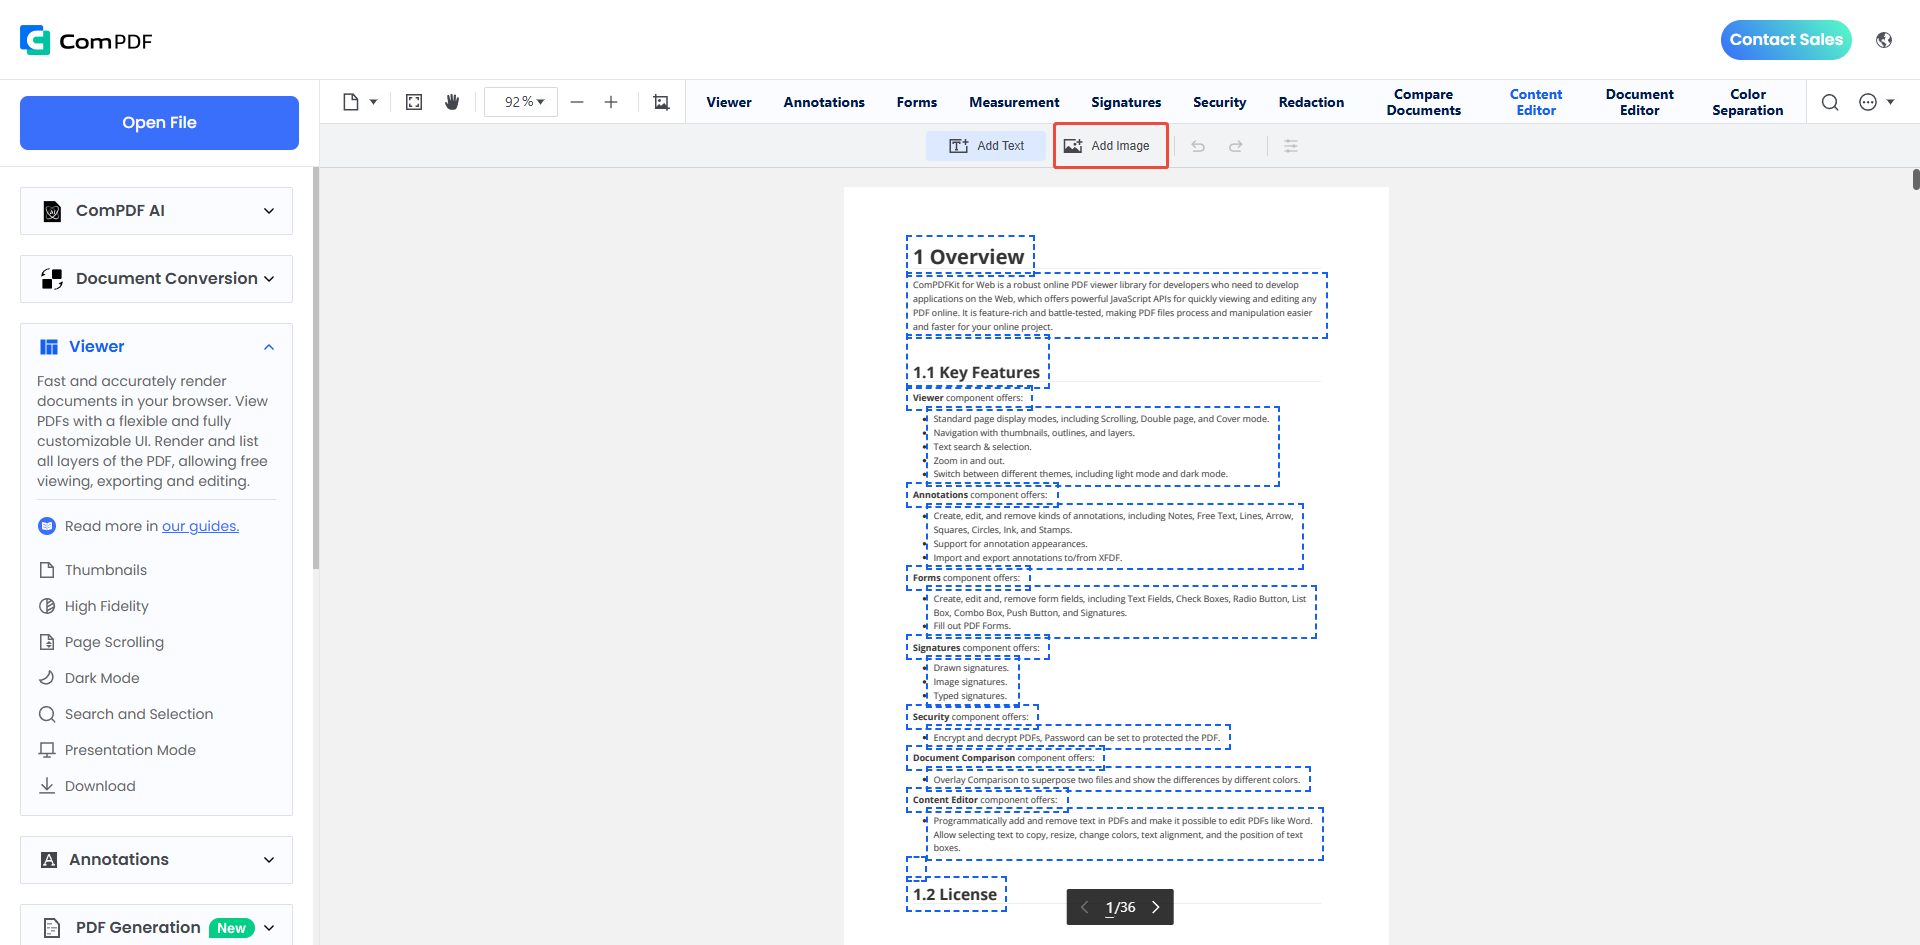
Before you start integrating our Web SDK 2.3.0 into your Web application, we recommend that you try out our Web Demo first to evaluate the effectiveness and performance of the image editing features.
How to Integrate Image Editing with ComPDF for Web?
Get Started
1. Install ComPDF Web SDK on GitHub/ NPM
Before integrating ComPDF for Web in your browser, make sure you have the latest stable version of Node.js. Then, install ComPDF Web SDK on GitHub or NPM.
2. Figure Out Package Structure
It would be better to figure out what the package of ComPDF Web SDK includes, improving your developing efficiency.
• "ComPDF-Web-Demo" - A folder containing Web sample projects.
• "Lib" - Include the library of ComPDF for Web.
• "ComPDF Web Demo.pdf" - Developer guide and API reference.
• "Core&UI.txt" - Third-party code usage agreement.
• "Legal.txt" - Legal and copyright information.
• "Release_Note.txt" - Release information.
Import and Initialize SDK in the Project
ComPDF for Web supports Vanilla JavaScript, Vue, and more. Here we take Vanilla JavaScript as an example. By following, you will get a simple web application that can display the contents of a specified PDF file.
It is worth noting that a license is required to run the project. It is welcome to contact us to get a free 30-day license for integration.
Step 1. Create index.html
<!DOCTYPE html>
<html lang="en">
<head>
  <meta charset="UTF-8">
  <meta name="viewport" content="width=device-width, initial-scale=1.0">
  <title>ComPDF Web Viewer</title>
</head>
<!-- Import WebViewer as a script tag -->
<script src='@compdfkit/webviewer.global.js'></script>
<body>
  <div id="app" style="width: 100%; height: 100vh;"></div>
</body>
</html>
Step 2. Add script tag and initialize ComPDFViewer for Web in JavaScript
<!DOCTYPE html>
<html lang="en">
<head>
  <meta charset="UTF-8">
  <meta name="viewport" content="width=device-width, initial-scale=1.0">
  <title>ComPDF Web Viewer</title>
</head>
<!-- Import WebViewer as a script tag -->
<script src='@compdfkit/webviewer.global.js'></script>
<body>
  <div id="app" style="width: 100%; height: 100vh;"></div>

  <script>
    let docViewer = null;

    ComPDFViewer.init({
      pdfUrl: '/webviewer/example/developer_guide_web.pdf',
      license: 'Input your license here'
    }, document.getElementById('app')).then((core) => {
      docViewer = core.docViewer;

      docViewer.addEvent('documentloaded', async () => {
        console.log('document loaded');
      })
    })
  </script>
</body>
</html>
Step 3. Set a server environment To show in the localhost, we need to set a server environment
npm install -g http-server
Step 4. Serve your website
http-server -a localhost -p 8080
Step 5. Open http://localhost:8080 on your browser. Then you will be able to see the PDF file you want to display.
Configure PDF Image Editing
1. Initialize the Editing Mode
Before editing, you should initialize editing mode. ComPDF provides methods to initialize editing mode. The following code shows you how to initialize the editing mode:
docViewer.startPDFContentEditMode()
2. Add, Move, or Delete Image
ComPDF provides basic interactive capabilities by default, allowing users to create and delete images, drag and drop to move the position of images, resize images, etc. The following code shows how to add images to a PDF:
// Insert Image.
docViewer.contentEditAnnotationsManager.addImageEditor({
  pageNumber: 1,
  rect: {
    left: 268,
    top: 100,
    right: 308,
    bottom: 138
  },
  imageBase64: '...' // Base64 format image data.
})
3. Edit Image Properties
ComPDF supports modifying image properties, such as rotating, cropping, mirroring, and setting transparency. This example shows how to rotate an image and set it to semi-transparent:
const editAnnotation = await docViewer.contentEditAnnotationsManager.getEditAnnotation(1)[0]
editAnnotation.setTextStyle({
  color: '#000000',
  opacity: 60,
  fontSize: 22,
  fontFamily: 'Times-Roman',
  fontStyle: 'bold'
})
4. End Image Editing and Save
After completing edits, you can save changes and exit the Editing mode by following:
docViewer.endPDFContentEditMode()
Final Words
Editing images of PDFs on a Web application is very convenient and efficient, which can be achieved on a browser rather than the extra software. ComPDF for Web offers seamless integration and easy initialization, simplifying the process of embedding the image editor into Web applications. The good news is that we offer a free 30-day trial license for integrating our SDK into your applications or systems. Contact us to streamline your workflow right now!