如何使用ComPDFKit PDF SDK创建Windows程序
创建新项目
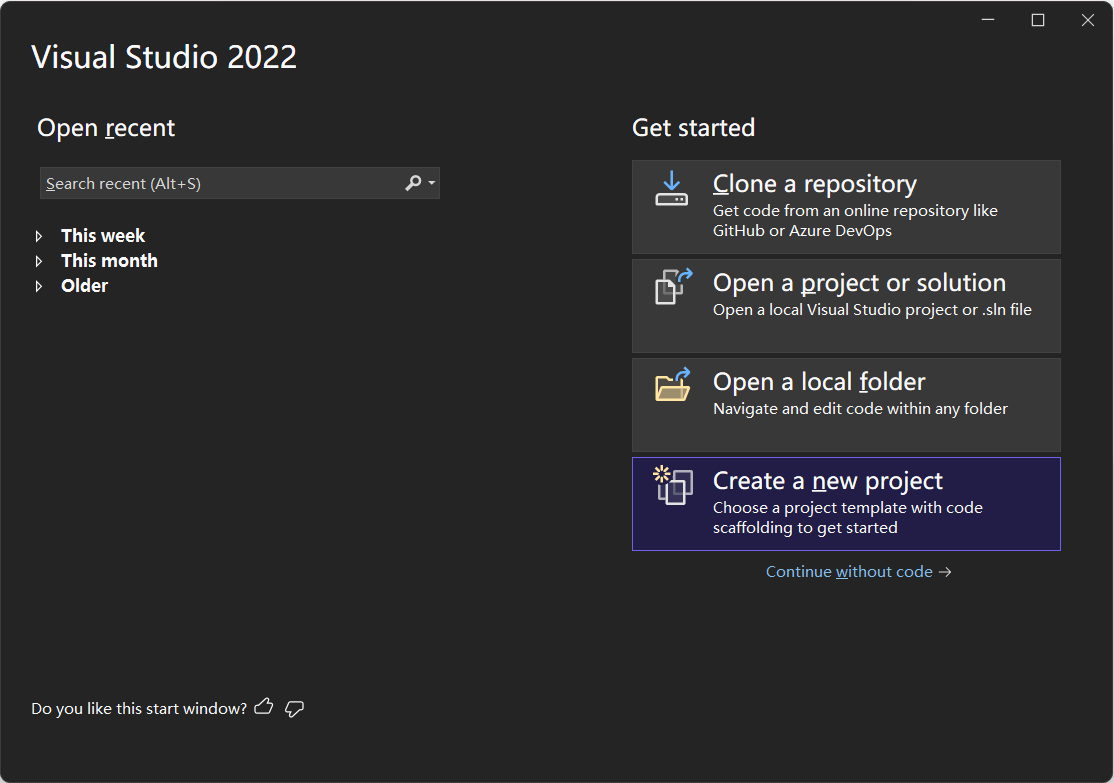
打开 Visual Studio 2022,点击Create a new project。
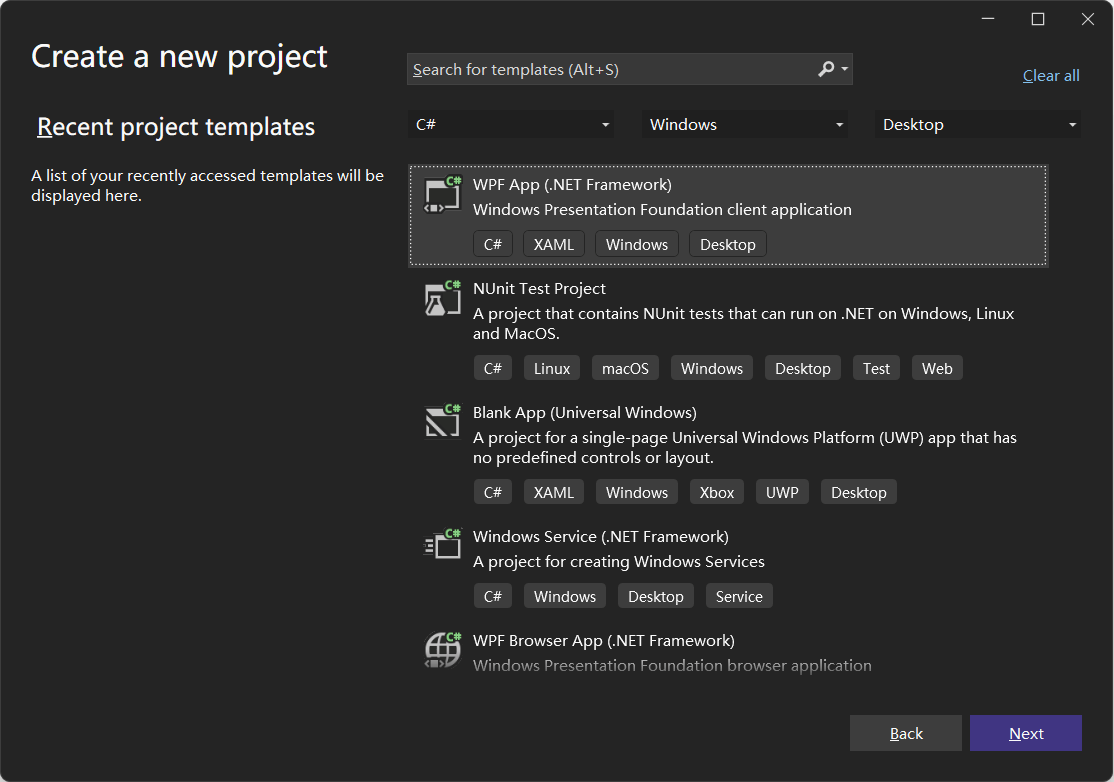
选择 WPF App (.NET Framework) 并点击 Next。
配置您的项目:设置项目名称并选择存储程序的位置。在本例中,项目名称为"ComPDFKit Demo"。此示例项目使用 .NET Framework 4.6.1 作为编程框架。
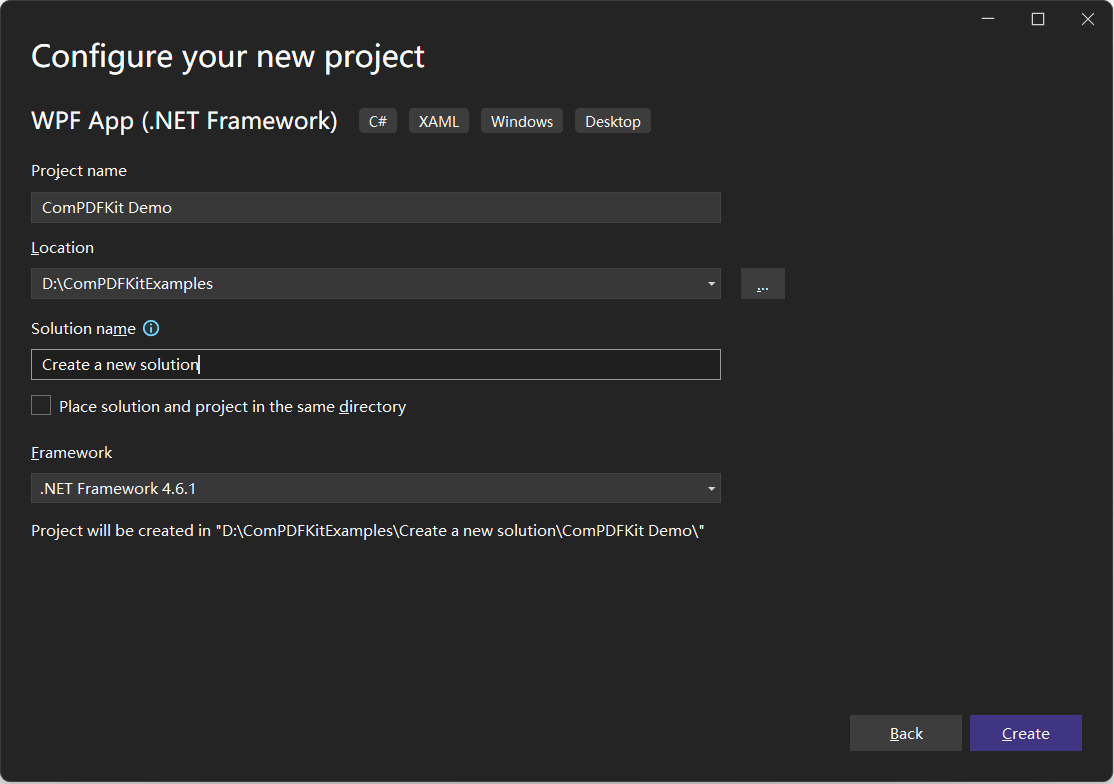
点击 Create 按钮。然后,新项目将被创建。
将ComPDFKit添加到您的项目中
有两种将 ComPDFKit 添加到您的项目中的方式:Nuget Repository 和 Local Package,您可以根据需要选择其中一种。
NuGet Repository
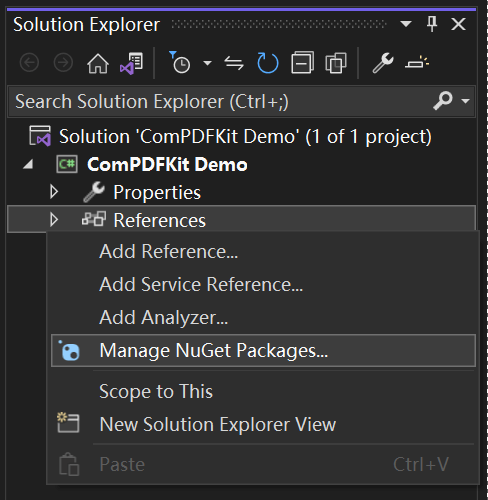
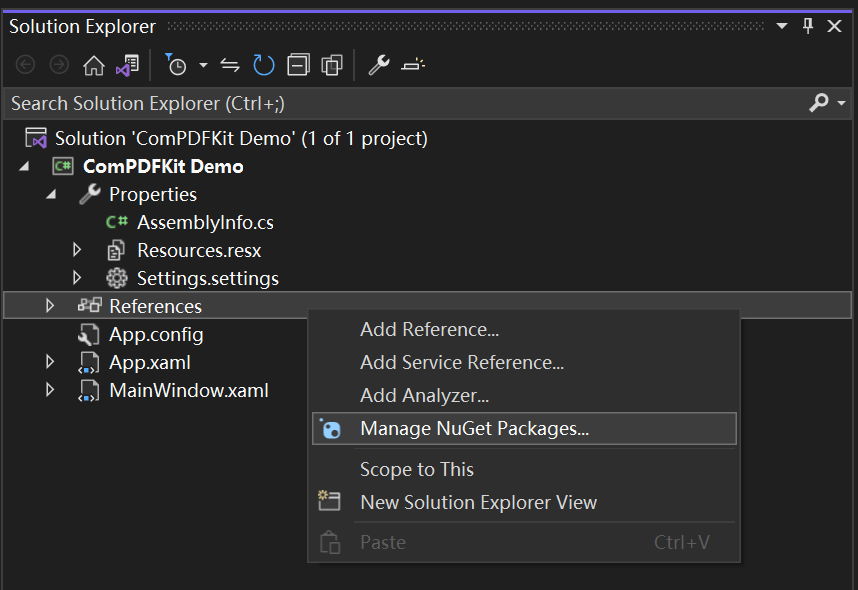
- 打开您的项目解决方案,在解决方案资源管理器中,右键点击 References,然后点击菜单项Manage NuGet Packages…。这将打开解决方案的 NuGet 包管理器。
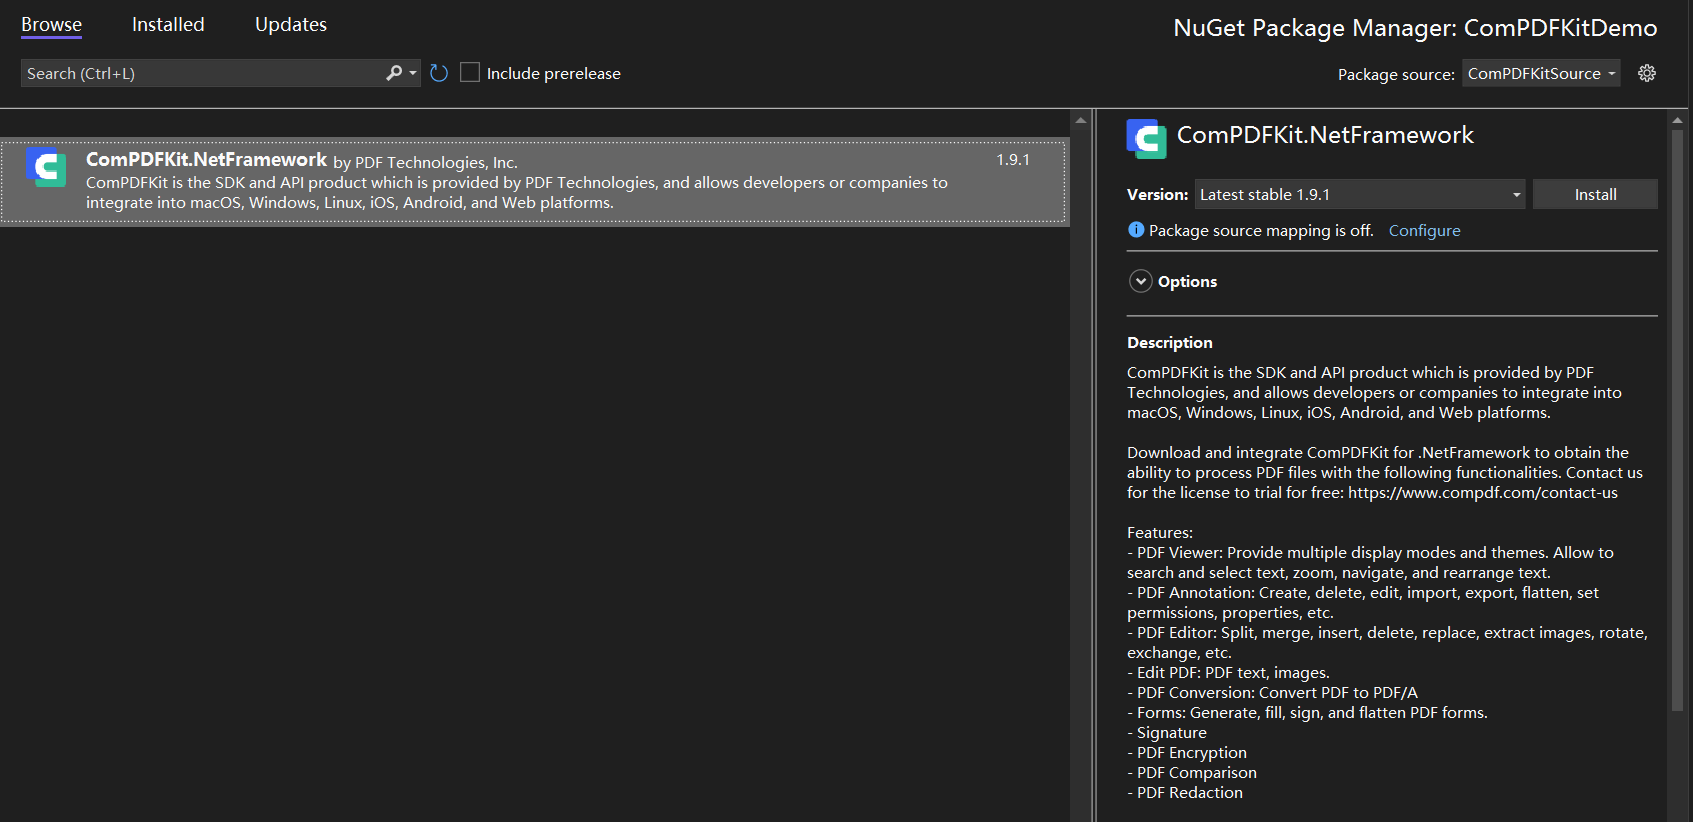
搜索
ComPDFKit.NetFramework,您将在 nuget.org 上找到该软件包。在右侧面板中会显示该软件包的描述,点击Install 按钮以安装软件包
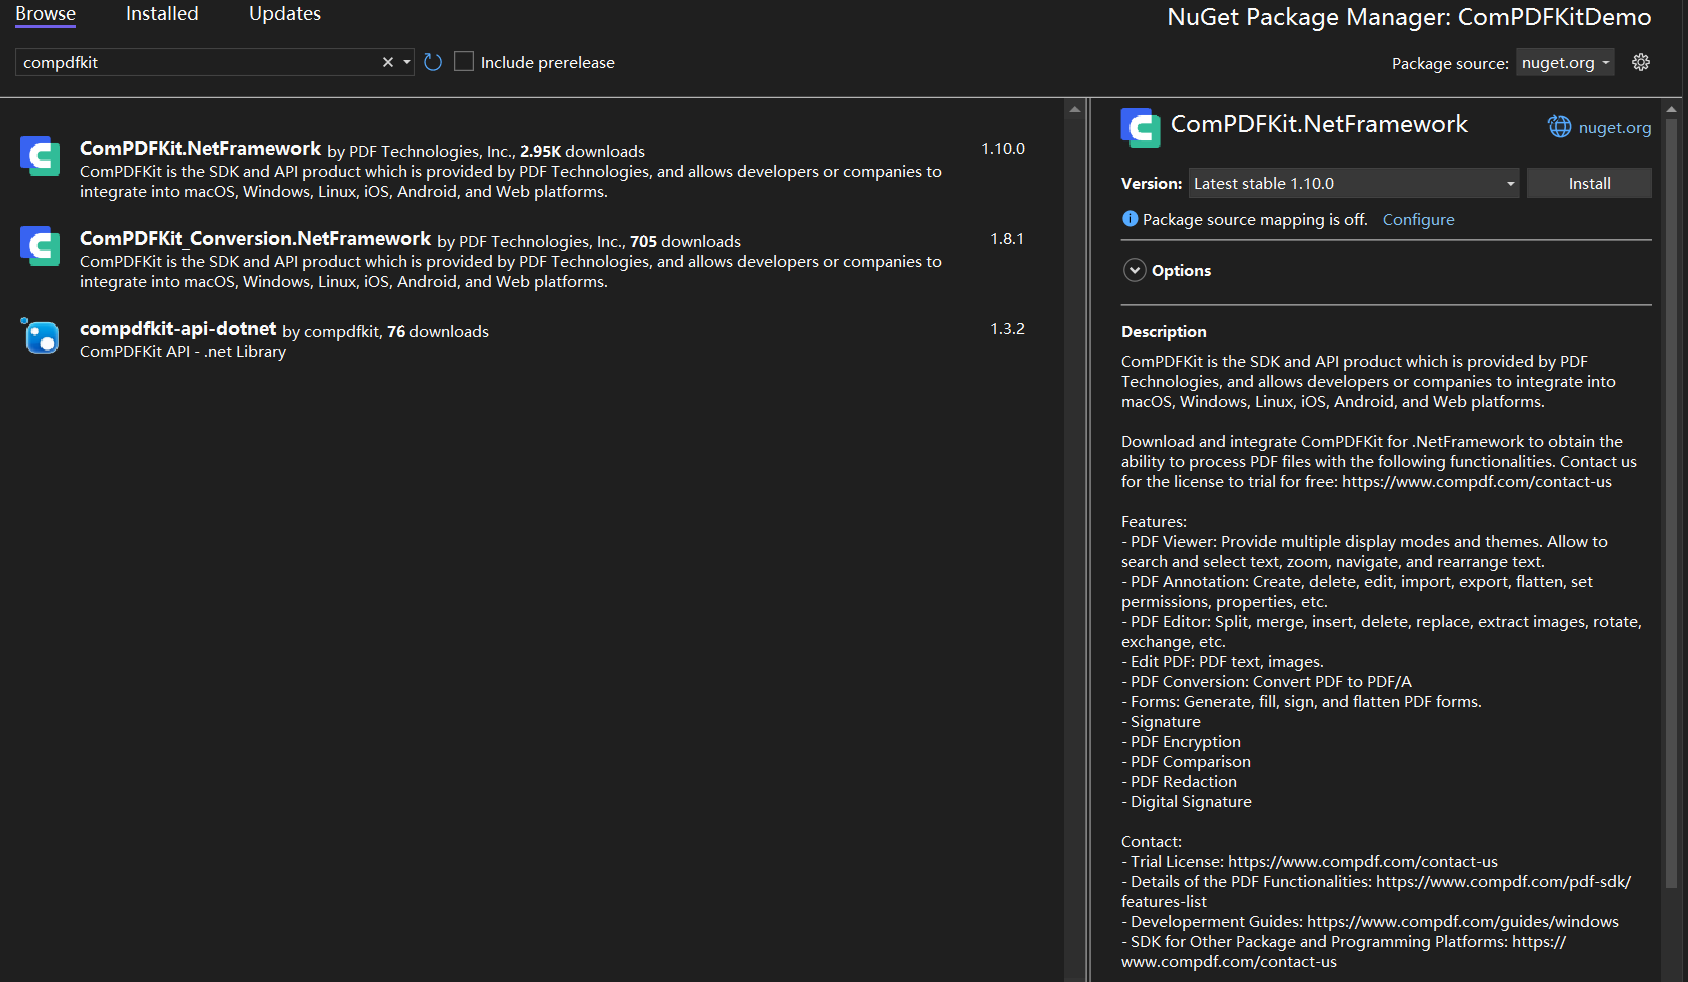
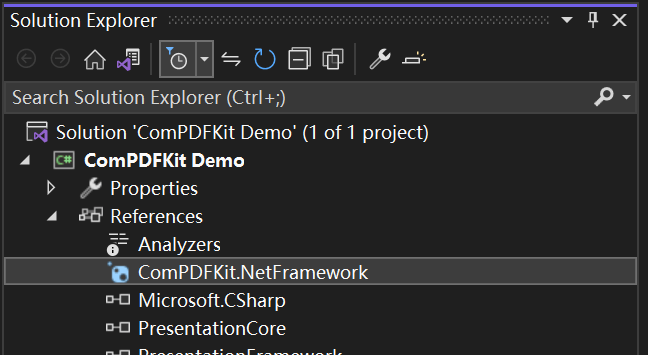
- 一旦安装完成,您将在解决方案资源管理器的 References 下看到对该软件包的引用。

本地包
与针对 nuget.org 上的软件包不同,您可以设置一个配置来指向本地的软件包。这在某些情况下可能很有用,比如您的设备无法访问互联网时。
您可以在SDK软件包中找到 "ComPDFKit.NetFramework....nupkg" 文件。
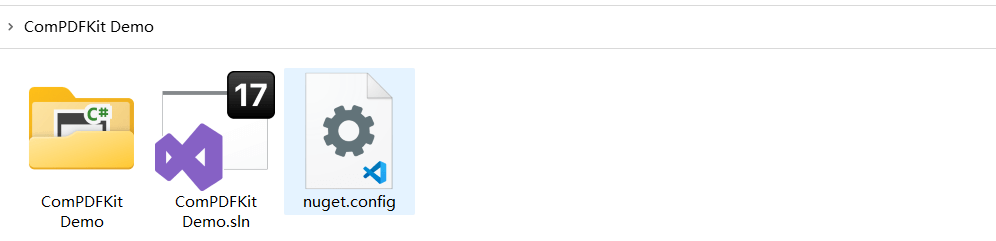
在与您的解决方案文件(例如 "ComPDFKit Demo.sln")相同的目录中创建或编辑一个 "nuget.config" 文件。
文件的内容应该包含一个XML元素
packageSources,它描述了在哪里查找 NuGet 软件包,作为名为configuration的根节点的子节点。如果文件已经存在,请添加下面显示的额外packageSources条目。如果文件是空白的,请复制并粘贴以下全部内容:xml<?xml version="1.0" encoding="utf-8"?> <configuration> <packageSources> <add key="ComPDFKitSource" value="path\to\directoryContainingNupkg" /> </packageSources> </configuration>编辑内容中的
value,以正确地引用包含 "ComPDFKit.NetFramework....nupkg" 软件包的目录位置,例如 C:\Users\me\nugetPackages。保存文件,然后关闭并重新打开您的解决方案,以便使 Visual Studio 强制读取 NuGet 配置。打开您的项目解决方案,在解决方案资源管理器中,右键点击References,然后点击菜单项 Manage NuGet Packages…。这将打开解决方案的 NuGet 包管理器。
在管理器的右侧,在“包源”下拉窗口中,选择条目
ComPDFKitSource(或您决定的任何其他名称)。然后,您应该会看到 "ComPDFKit.NetFramework" 的条目。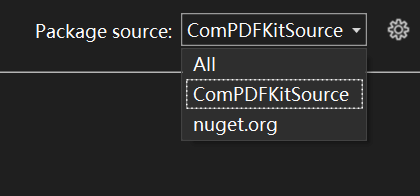
在右侧,点击描述该软件包的面板上的 Install 按钮以安装该软件包。
一旦完成,您将在解决方案资源管理器的 References 下看到对该软件包的引用。
另外,您也可以手动将 ComPDFKit 的动态库集成到您的项目中
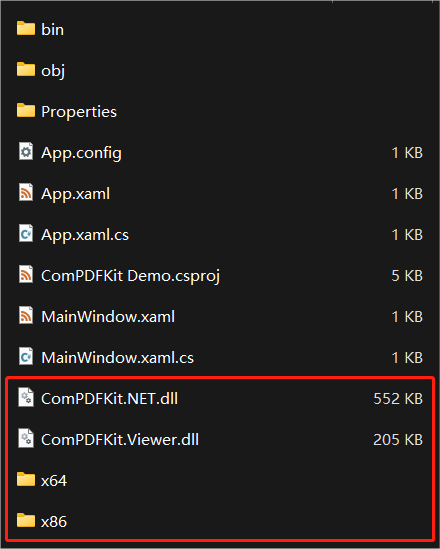
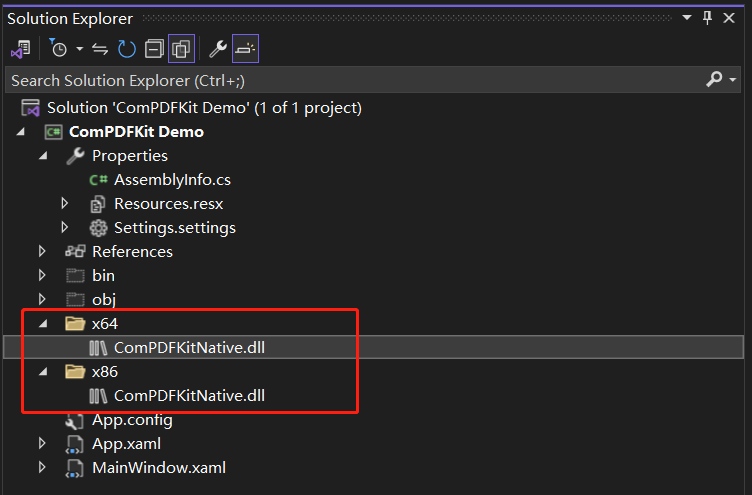
打开您提取的 ComPDFKit SDK 软件包,进入 **"lib"**文件夹。将 "x64"文件夹、"x86"文件夹、"ComPDFKit.NET.dll" 文件和 "ComPDFKit.Viewer.dll" 文件复制到您在2.4.1中创建的与项目同名的文件夹中。在此项目中,该文件夹的名称为 "ComPDFKit Demo"。现在,您的文件夹应该如下所示:
然后在 Solution Explorer 菜单中点击按钮 Show All Files。找到并右键单击您之前添加的文件,然后选择 Include In Project。
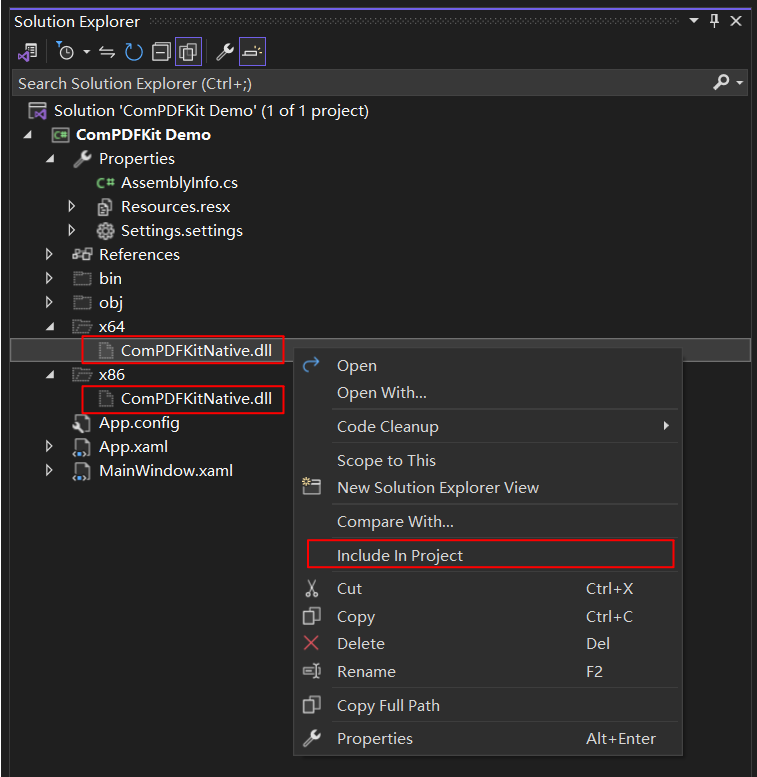
现在,您的项目结构将如下所示:
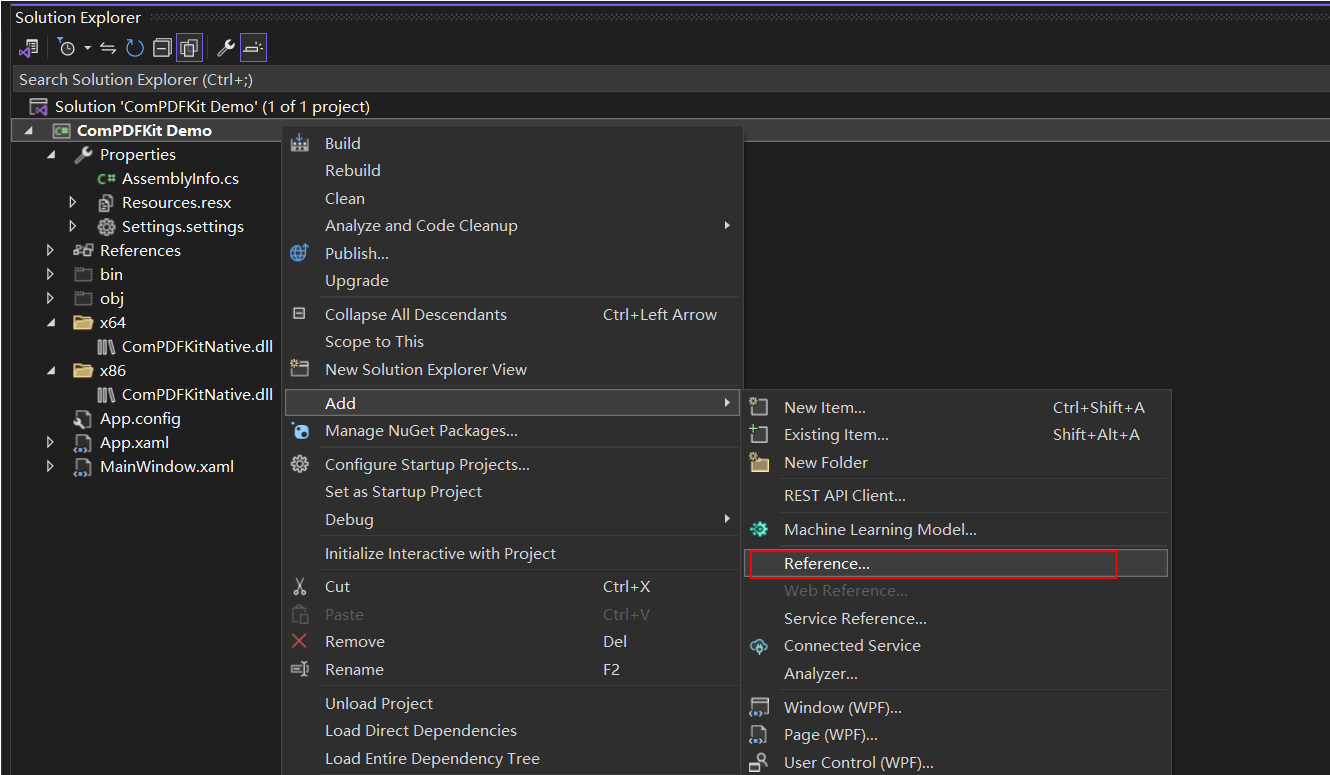
要在项目中使用ComPDFKit PDF SDK的API,按照以下说明将其添加到 Reference 中。右键点击需要添加ComPDFKit PDF SDK的项目,然后点击 Add。接着,点击 Reference。
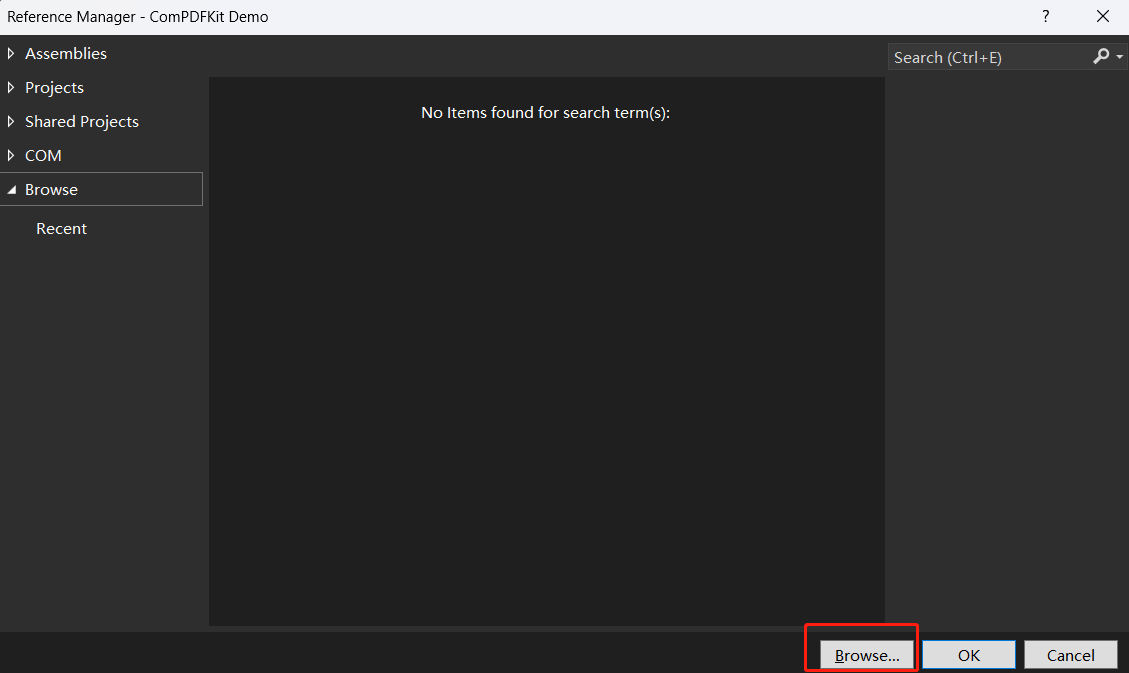
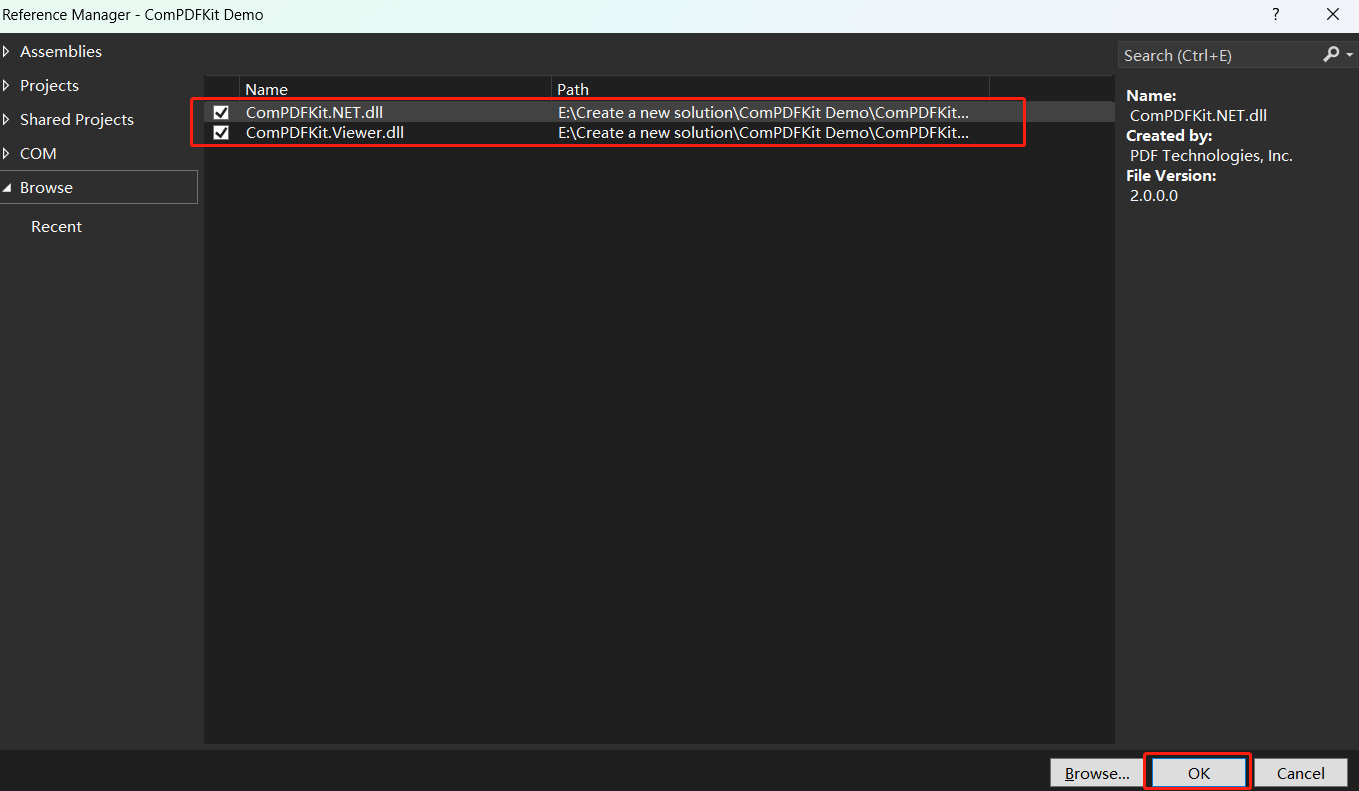
在引用对话框中,选择 Browse,点击右下角的另一个 Browse 按钮,然后导航到您项目中的 "ComPDFKit Demo" 文件夹。选择 "ComPDFKit.NET.dll" 和 "ComPDFKit.Viewer.dll" 动态库。然后,点击OK。
右键点击 "ComPDFKitNative.dll" -> 点击 Properties。
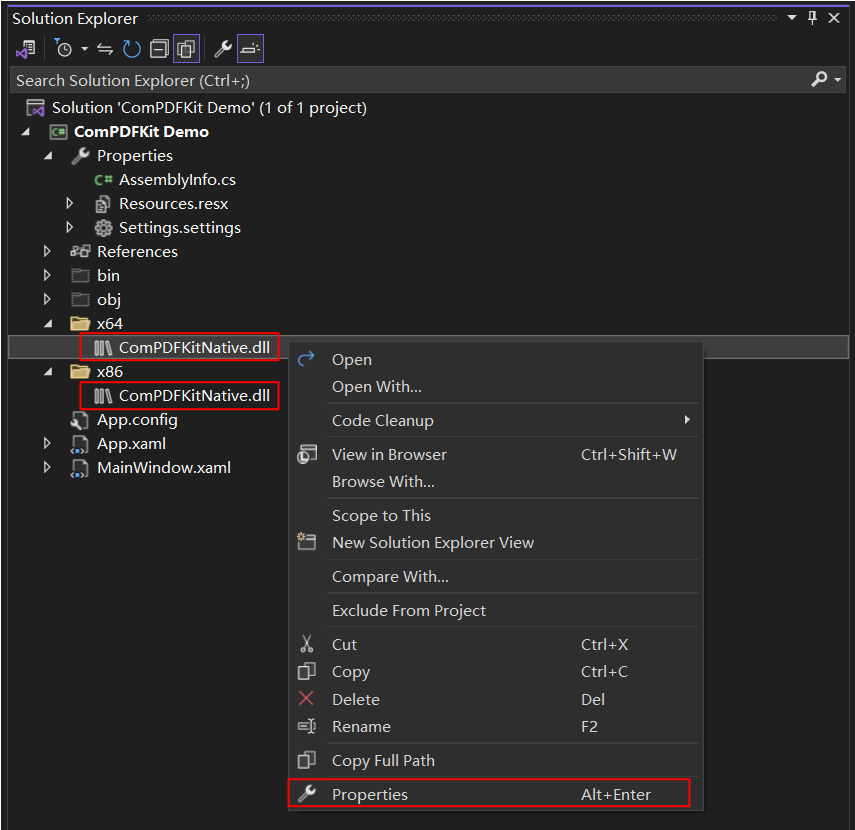
请确保将 "ComPDFKitNative.dll" 的属性 Copy to Output Directory 设置为 Copy if newer。否则,在运行项目之前,您需要手动将它复制到可执行文件相同的文件夹中。
应用许可证密钥
具体步骤请参考应用许可证密钥
显示PDF文档
我们已经完成了所有的准备步骤。
在 “MainWindow.xaml” 和 “MainWindow.xaml.cs” 中添加以下代码来显示一个PDF文档。请确保将 "ComPDFKit_Demo" 替换为您项目的名称。现在,您只需要创建一个 CPDFViewer 对象,然后使用OpenPDF_Click方法将 CPDFViewer 对象显示在名为“PDFGrid”的 Grid(组件)中。
现在您的 "MainWindow.xaml" 应该如下所示:
<Window x:Class="ComPDFKit_Demo.MainWindow"
        xmlns="http://schemas.microsoft.com/winfx/2006/xaml/presentation"
        xmlns:x="http://schemas.microsoft.com/winfx/2006/xaml"
        xmlns:d="http://schemas.microsoft.com/expression/blend/2008"
        xmlns:mc="http://schemas.openxmlformats.org/markup-compatibility/2006"
        xmlns:local="clr-namespace:ComPDFKit_Demo"
        xmlns:compdfkitviewer="clr-namespace:ComPDFKitViewer;assembly=ComPDFKit.Viewer"
        mc:Ignorable="d"
        Focusable="True"
        Title="MainWindow" Height="600" Width="800" UseLayoutRounding="True">
    <Grid>
        <Grid.RowDefinitions>
            <RowDefinition Height="*"/>
            <RowDefinition Height="52"/>
        </Grid.RowDefinitions>
        <Grid Name="PDFGrid" Grid.Row="0">
            <ScrollViewer Focusable="False" CanContentScroll="True" HorizontalScrollBarVisibility="Auto" VerticalScrollBarVisibility="Auto">
                <compdfkitviewer:CPDFViewer x:Name="PDFViewer"/>
            </ScrollViewer>
        </Grid>
        <Button Content="Open PDF" Grid.Row="1" HorizontalAlignment="Left" Margin="10" Click="OpenPDF_Click"/>
    </Grid>
</Window>现在您的 “MainWindow.xaml.cs” 应该如下所示。请注意:您需要输入您的许可证密钥。代码中所有需要修改的修改的地方都已在下面的代码中用代码注释标记出来。您只需要根据注释下面的字符串提示,进行内容替换。
using ComPDFKit.NativeMethod;
using ComPDFKit.PDFDocument;
using Microsoft.Win32;
using System.Windows;

namespace ComPDFKit_Demo
{
    public partial class MainWindow : Window
    {
        public MainWindow()
        {
            InitializeComponent();
            LicenseVerify();
        }

        bool LicenseVerify()
        {
            if (!CPDFSDKVerifier.LoadNativeLibrary())
                return false;

            string xmlPath = "您的许可证密钥 XML 文件的路径";
            LicenseErrorCode verifyResult = CPDFSDKVerifier.LicenseVerify(xmlPath);
            return (verifyResult == LicenseErrorCode.E_LICENSE_SUCCESS);
        }

        private void OpenPDF_Click(object sender, RoutedEventArgs e)
        {
            // 取得 PDF 文件的路径。
            var dlg = new OpenFileDialog();
            dlg.Filter = "PDF Files (*.pdf)|*.pdf";
            if (dlg.ShowDialog() == true)
            {
                // 使用 PDF 文件路径在 CPDFViewer 中打开文档
                CPDFDocument doc = CPDFDocument.InitWithFilePath(dlg.FileName);
                if (doc != null && doc.ErrorType == CPDFDocumentError.CPDFDocumentErrorSuccess)
                    PDFViewer.InitDoc(doc);
            }
        }
    }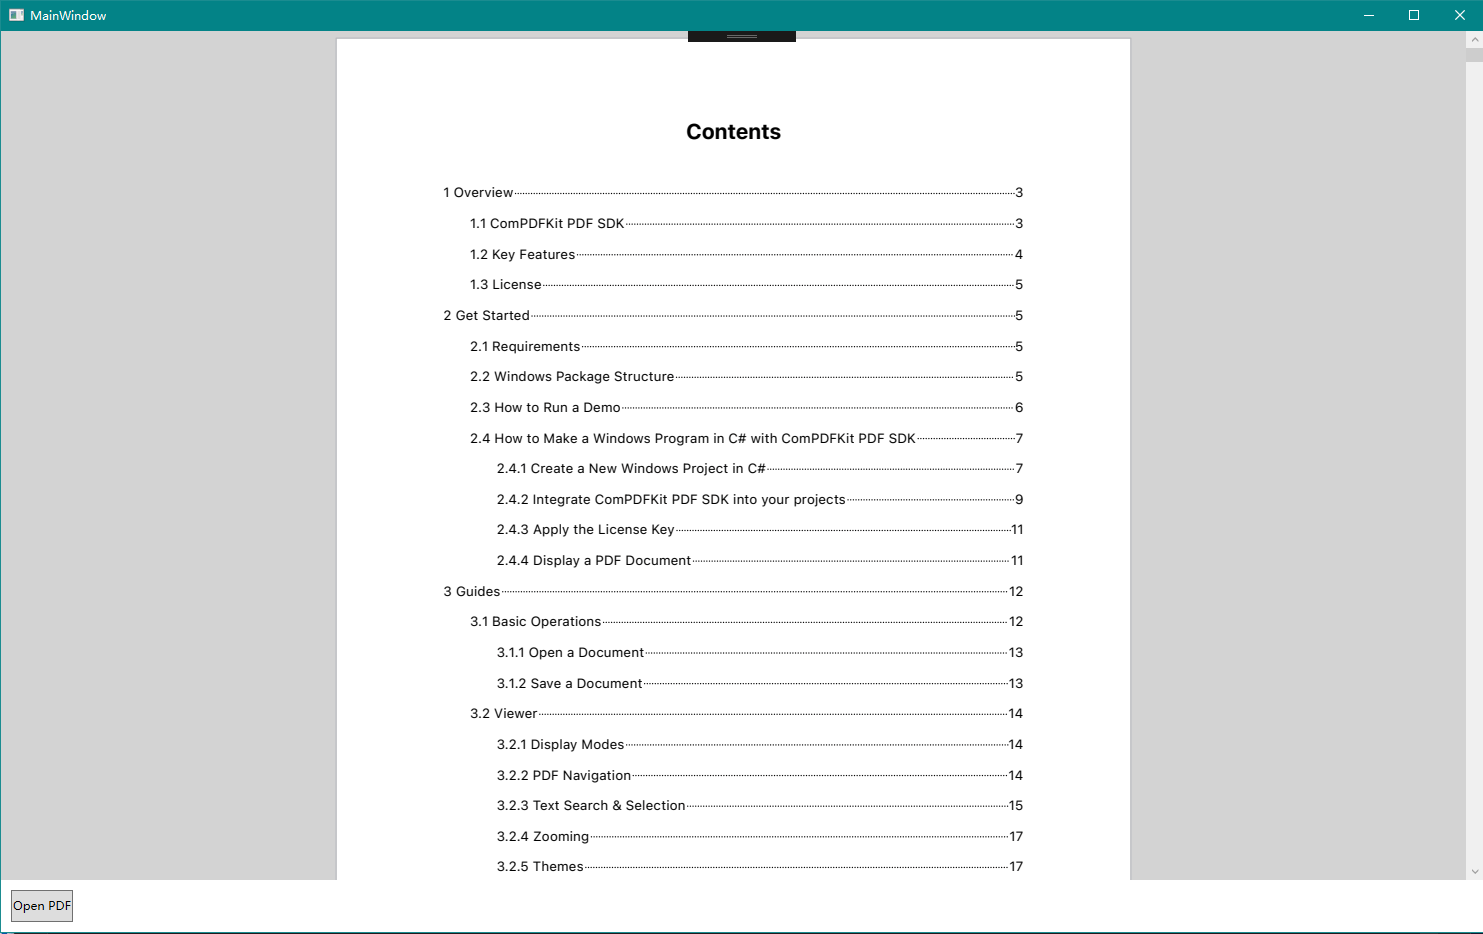
}现在运行项目,您将看到您想要显示的PDF文件。PDF阅读器已经成功创建。
故障排除
如果在集成ComPDFKit PDF SDK for Windows时遇到任何问题,请随时联系ComPDFKit团队。