Key Capabilities
Customizable UI
Simple, easy to use, and highly customizable
Low-Level APIs
For fine-grained control
High Fidelity
Accurate and reliable PDFium-based rendering engine
Prebuilt Features
Annotate, edit, sign, form fill, redact, and more
PDF Capabilities
PDF Viewer
How to quickly embed a highly configurable PDF viewer
Annotations
How to create, edit, delete, flatten, import, and export annotations
Signatures
How to add electronic and digital signatures on PDF documents
Forms
How to create, fill, edit, delete, flatten, import, and export forms
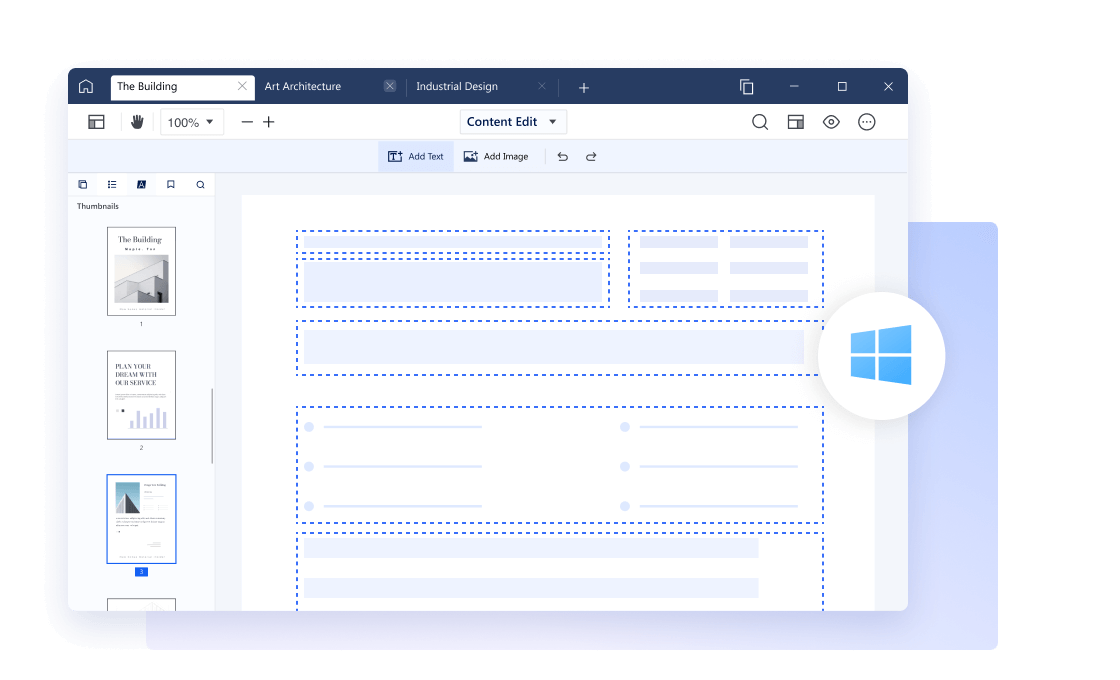
Content Editor
How to add, edit, move, and delete text and images, replace content
Document Editor
How to merge or split documents, manipulate pages, and more
Redaction
How to redact PDFs to protect sensitive data
Conversion
How to convert PDF from/to MS Office, images, HTML, CSV, and more
Essential Guides
Framework Support
ComPDF for Windows is compatible with .Net Framework, .NET Core, WPF, UWP, Electron, and MAUI.